You might think that swapping plastic food wrapping for reusable wraps, is a drop in the ocean (no pun intended) when it comes to combatting pollution. So what’s the point?
Not one raindrop believes it’s responsible for the flood
The point is that if we all continue to think that we can’t make an impact, then we definitely won’t! Not one raindrop believes it’s responsible for the flood
I read recently that what the World needs isn’t a handful of people going all in, living off grid with zero plastics and a negative carbon footprint. The World needs billions of people doing their best.

Personally I’m not ready to commit to veganism, hemp clothing or a family cloth (if you don’t know what that is, then Google it ?). But I want to do my best to keep moving in the right direction.
I started a group called One Small Step For Humankind and together we’ve been coming up with small steps we can all take to help ‘save the planet’! Reusable wraps have come up several times but people seemed to be put off by the cost, so here is a simple DIY version.
You can make them with just beeswax but it’s the roisin that makes them cling and seal.
You Will Need
Beeswax – grated
100% cotton fabric
Pinking shears
Powdered pine roisin (food grade)
Pastry brush
Wooden pegs and string
 Method
- Firstly I can’t stress enough that your fabric must be 100% cotton. Synthetic fibres may burn and won’t properly absorb the wax mixture.
- Thin fabrics work best and don’t crackle and crease as much as heavier ones. But you can use any weight you like. Patterns work well and when it comes to colour, take into account that the wax will add a yellow tinge.
- Wash and dry your fabric. Recycled fabric is absolutely fine but you need to be sure it’s very clean and colourfast.
- Iron your chosen fabric and cut into squares. You can decide which sizes work best for you. I like to have a variety.
- Approximately 30cm x 30cm – great for wrapping sandwiches or covering large bowls. They also work well as makeshift plates.

- Approximately 20cm x 20cm – great for wrapping snacks, covering smaller bowls and tins.
- Approximately 15cmx15cm – great for covering drinks and banana stalks.

- Preheat your oven to 220
- Protect your surface with newspaper and hang a string to dry your wraps.
- Line a baking tray with foil and lay your first piece of fabric on top.
- Make sure there aren’t any lose threads.
- Cover with equal amounts of wax and roisin. For a large wrap you’ll need around 2 1/2 tablespoons of each.
- Remove any lumps of roisin as they will cause issues later.
- Put in the oven until the wax and roisin have melted. This takes just a minute or two in my oven – you need to keep a close eye on it.
- Remove and brush the liquid all over the fabric making sure it’s covered evenly.
- Return to the oven for 30 seconds.
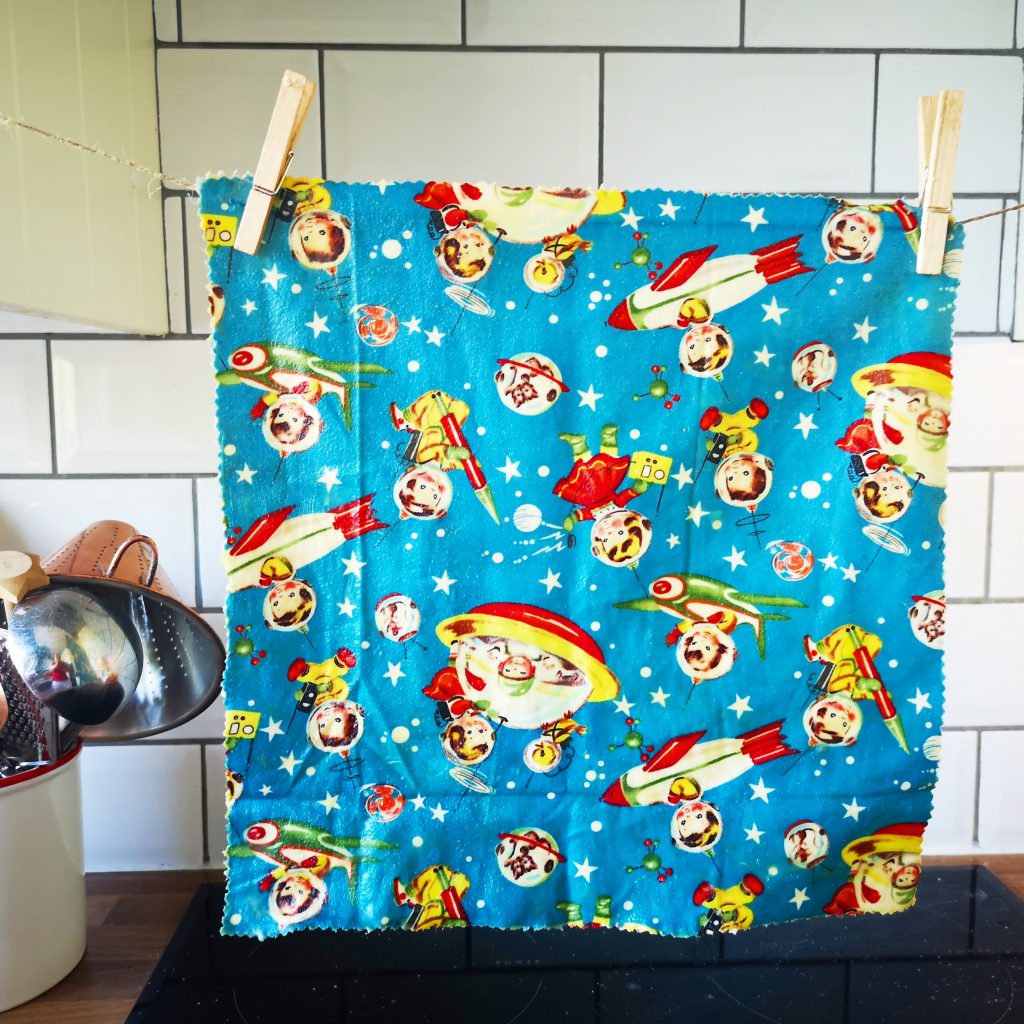
- Quickly hang on the string to cool. Be very careful that you don’t burn yourself.
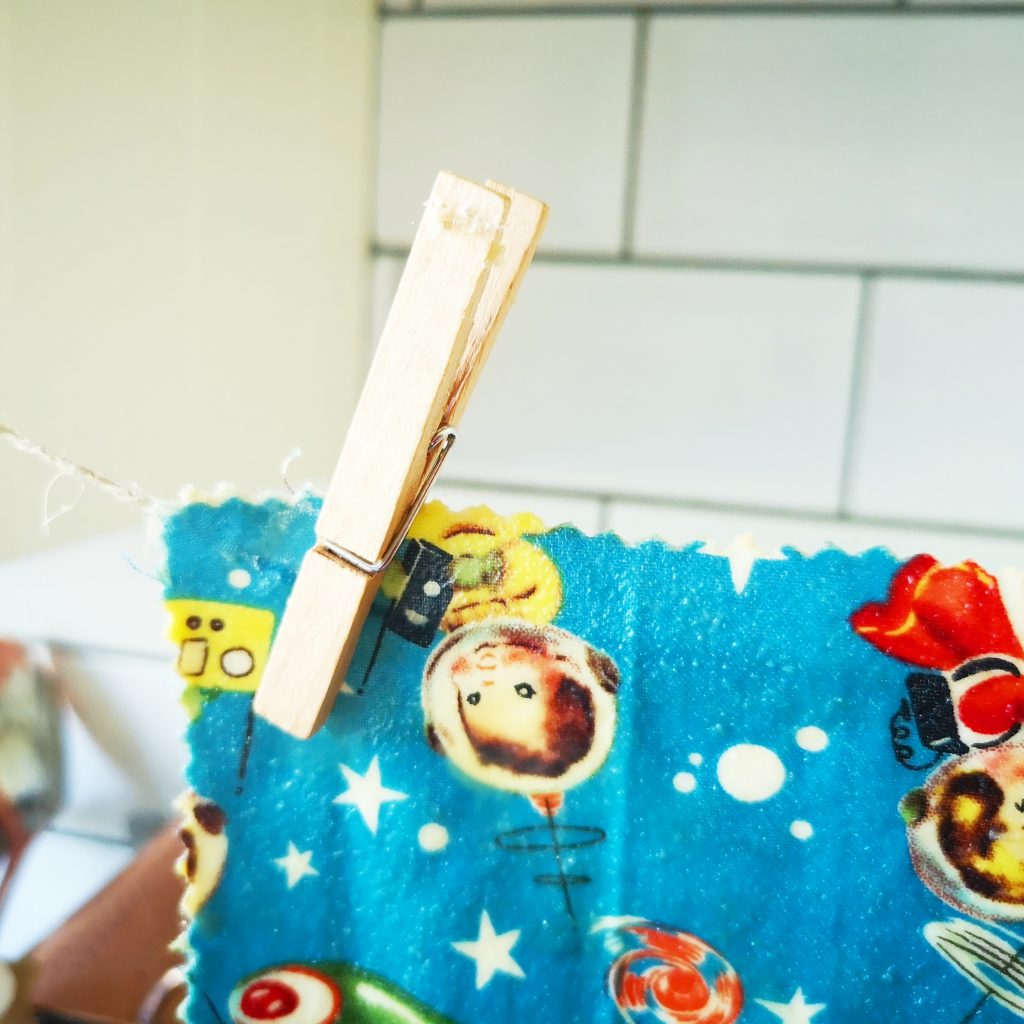
- After a minute or two, remove from the string. If you leave the wraps pegged up for too long then you end up with bumps of wax where the pegs have been.
- Continue until you have a collection of wraps.
You can wash your wraps in cool soapy water and they’ll last around a year. After that you can simply re-wax them!
I’m not ready to commit to veganism, hemp clothing or a family cloth
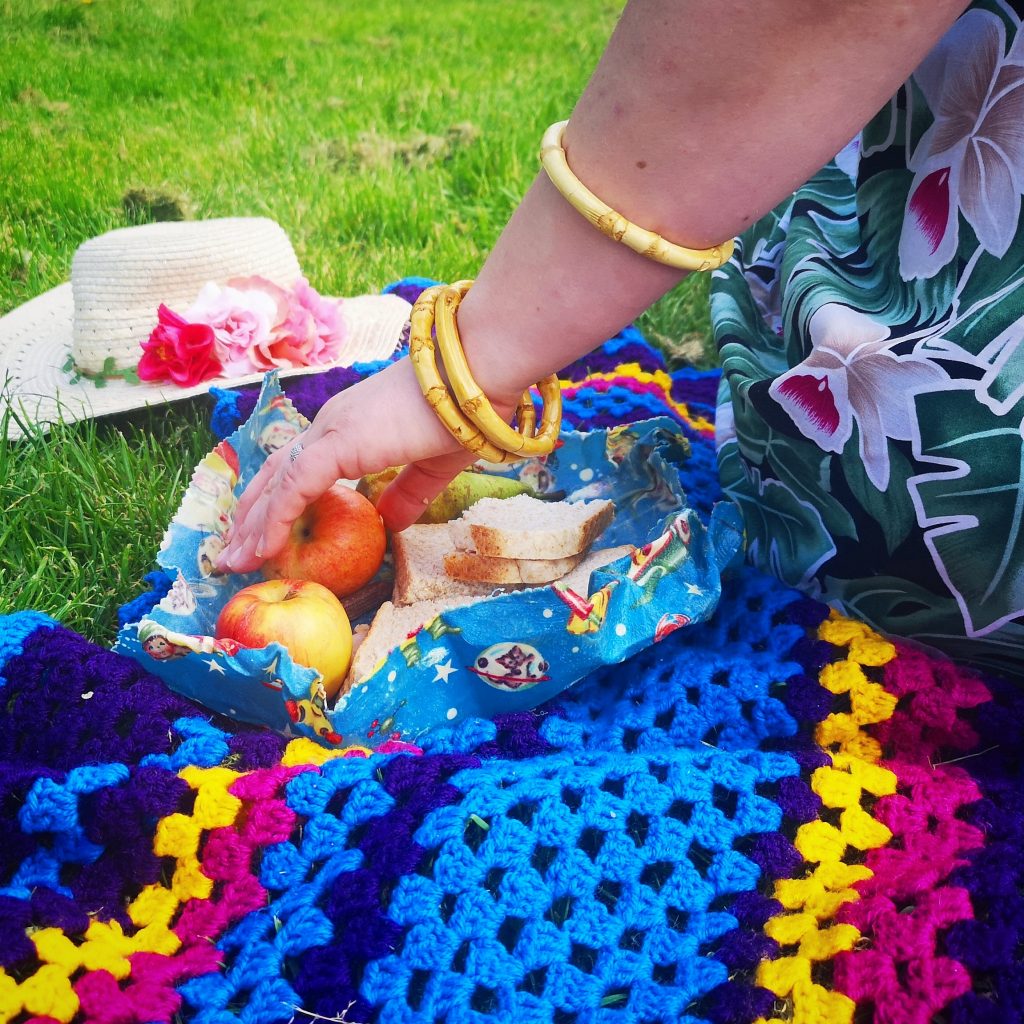
Don’t use your wraps to cover warm food and anything overly sloppy probably isn’t a good idea either. You can wrap food up like presents or just scrunch the fabric around it.
Speaking of presents, I think a set of these would make a wonderful gift, so why not make a few extra?
Love Rachel ❤️


1 comment